As early as the 18th century, the micrometer was on the stage of manufacturing in the development of the machine tool industry. The micrometer is still one of the most common precision measuring tools in the workshop. Briefly introduce the birth and development history of the micrometer.
1. The initial attempt to measure length with threads
Humans first used the principle of thread to measure the length of objects in the 17th century. In 1638, W. Gascogine, an astronomer in Yorkshire, England, used the screw principle to measure the distance of stars. In 1693, he invented a measuring rule called "caliper micrometer".
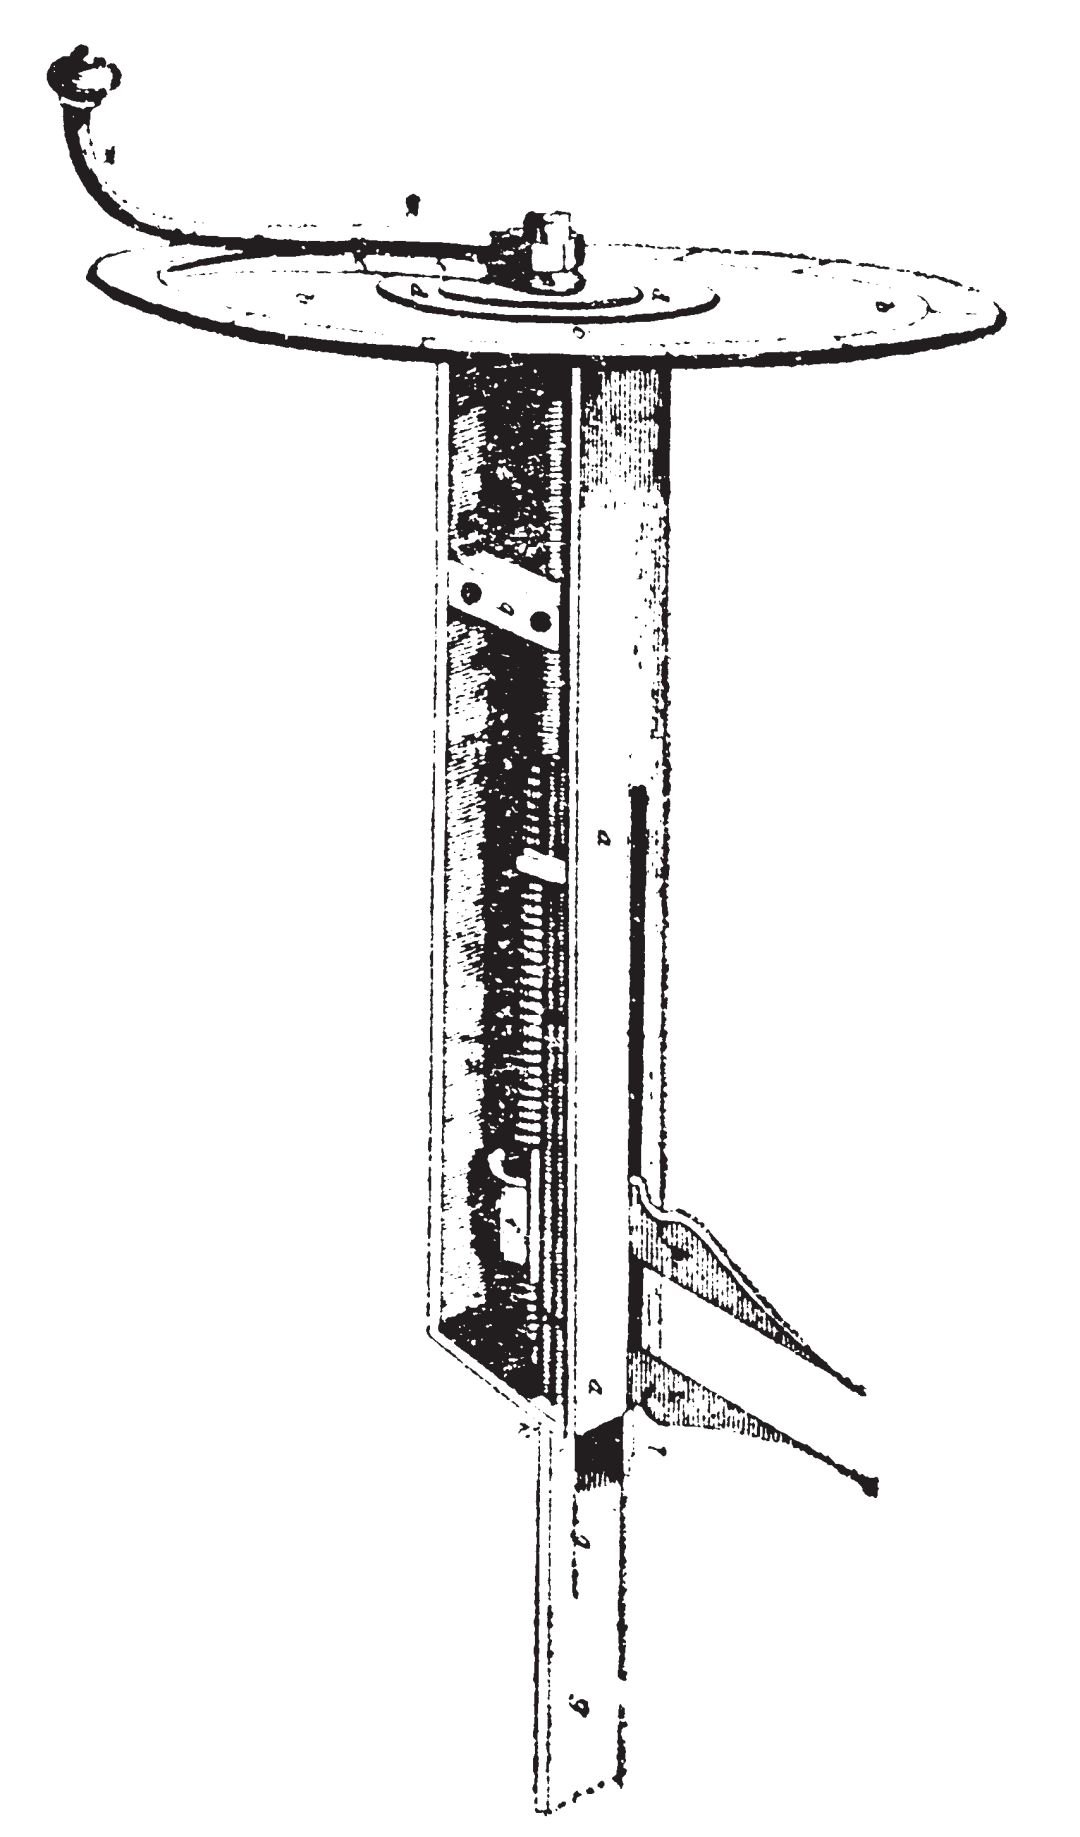
This is a measuring system with a screw shaft connected to a rotating handwheel at one end and a movable claw at the other end. The measurement reading can be obtained by counting the rotation of the handwheel with the reading bezel. One week of the reading scale is divided into 10 equal parts, and the distance is measured by moving the measuring claw, which realizes the first attempt by humans to measure the length with threads.
2. Watt and the first desktop micrometer
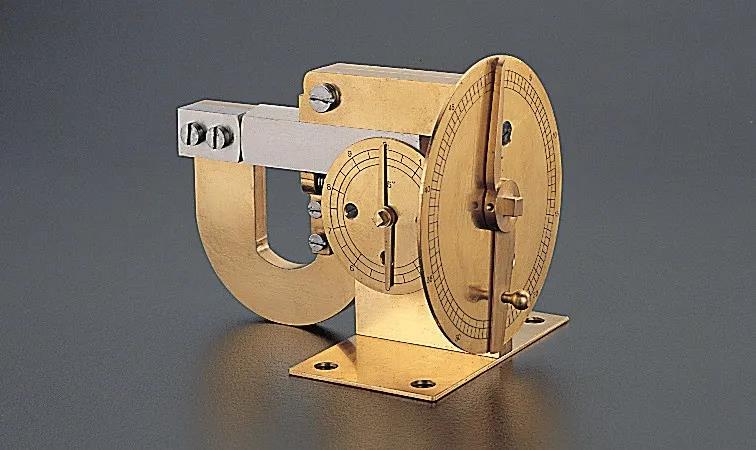
A century after Gascogine invented his measuring instrument, James Watt, the inventor of the steam engine, invented the first desktop micrometer in 1772. A key factor in its design was the magnification based on the screw thread. The first U-shaped structure design used by James Watt later became the standard for micrometers. Without his history of micrometers, it would be interrupted here. CNC machining part
3. Sir Whitworth first commercialized the micrometer
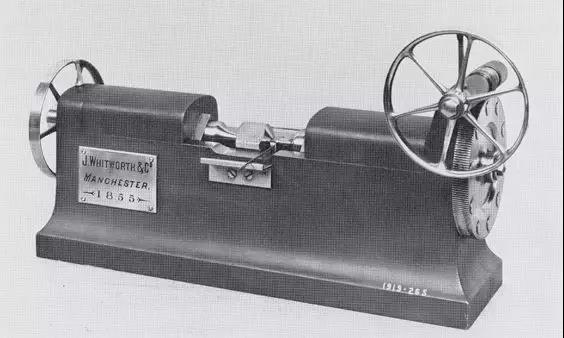
However, James Watt and Mausdlay's bench micrometers are largely for their own use. There were no precision measuring instruments on the market until the latter part of the 19th century. Sir Joseph Whitworth, who invented the famous "Whitworth thread", became a leader in promoting the commercialization of micrometers. CNC
4. The birth of the modern micrometer
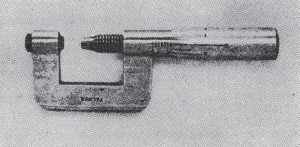
Modern standard micrometers have U-shaped structure and single-handed operation. Many manufacturers use the common design of micrometers. This typical design can be traced back to 1848,
when French inventor J. Palmer obtained a patent called the Palmer system. Modern micrometers almost follow the basic design of the Palmer system, such as U-shaped structure, casing, sleeve, mandrel, and measuring anvil. Palmer's contribution is immeasurable in the history of the micrometer. CNC auto part
5. The development and growth of the micrometer
Brown & Sharpe of American B&S Company visited the Paris International Exposition held in 1867, where they saw the Palmer micrometer for the first time and brought it back to the United States. Brown & Sharpe carefully studied the micrometer they brought back from Paris, and added two mechanisms to it:
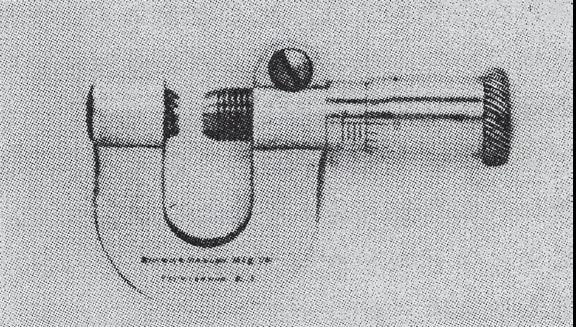
a mechanism that can better control the spindle and a spindle locking device. They produced a pocket micrometer in 1868 and introduced it to the market the following year.
Since then, the necessity of micrometers in machinery manufacturing workshops has been accurately predicted, and micrometers suitable for various measurements have been widely used with the development of machine tools.
If you'd like to speak to a member of the Anebon team, please get in touch at info@anebon.com
Anebon Metal Products Limited can provide CNC machining, die casting, sheet metal machining services, please feel free to contact us.
Tel: +86-769-89802722 Email: info@anebon.com Website: www.anebon.com
Post time: Jan-07-2021
